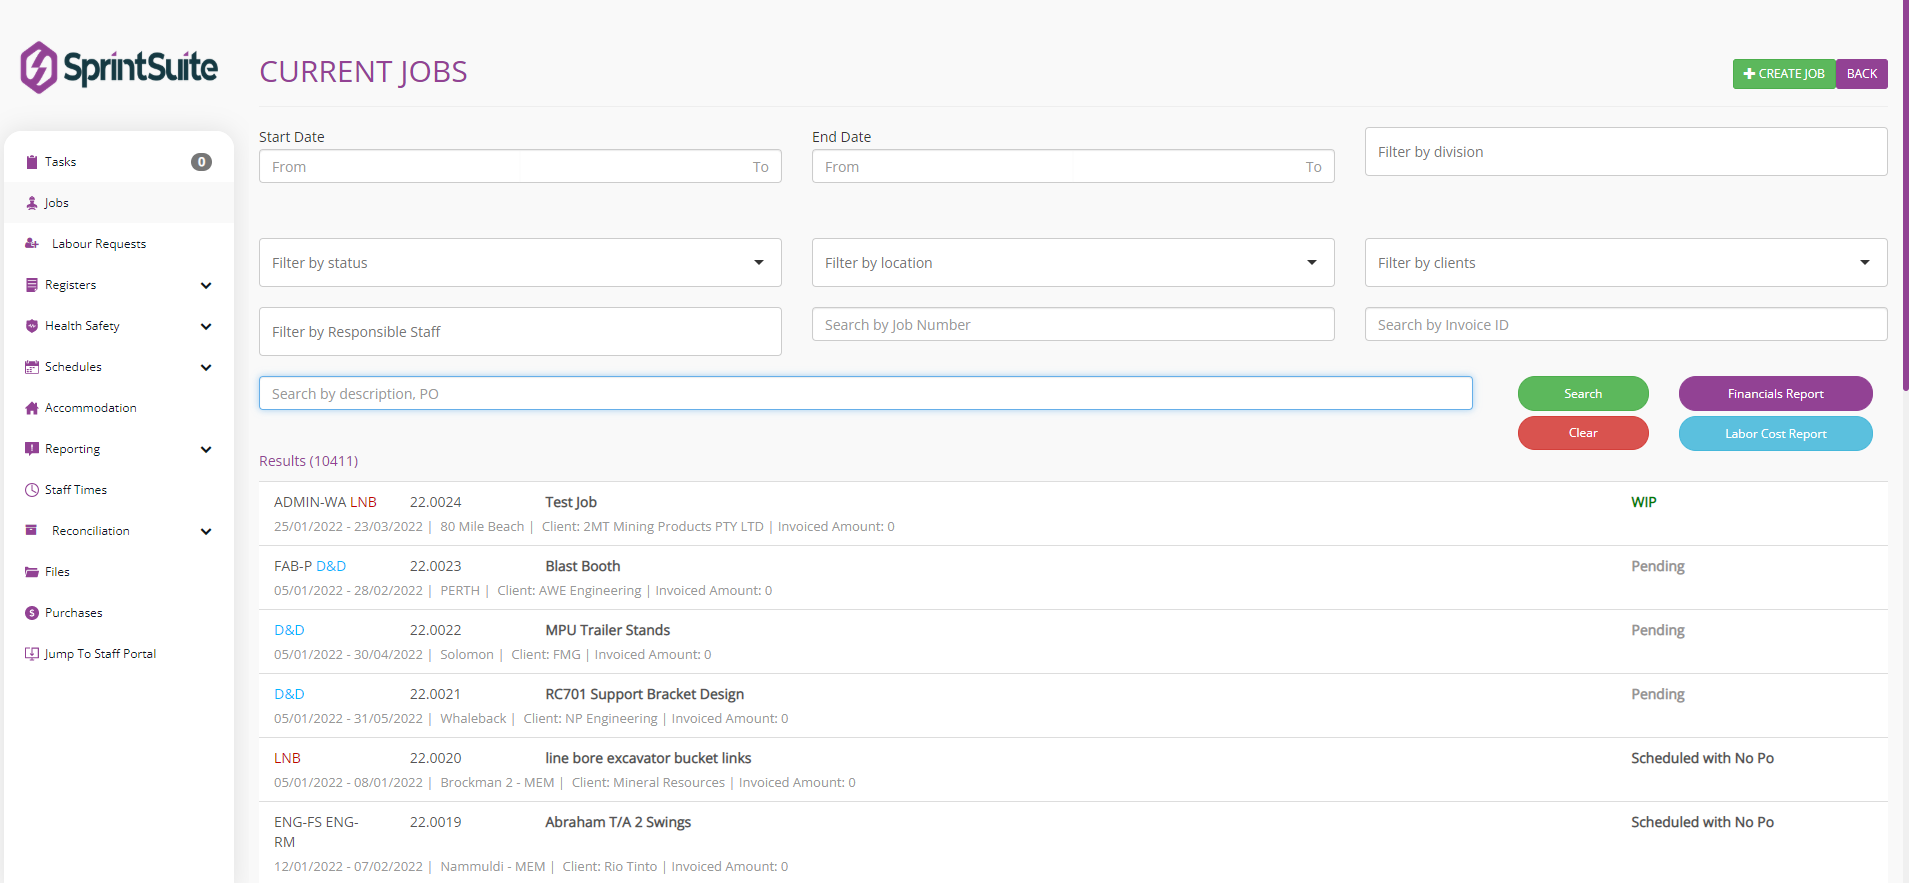
1. In your Jobs tab of your Sprintsuite console will be a list of jobs allocated, you can filter this list by start and end dates, division, responsible staff, location, client, job number ect.
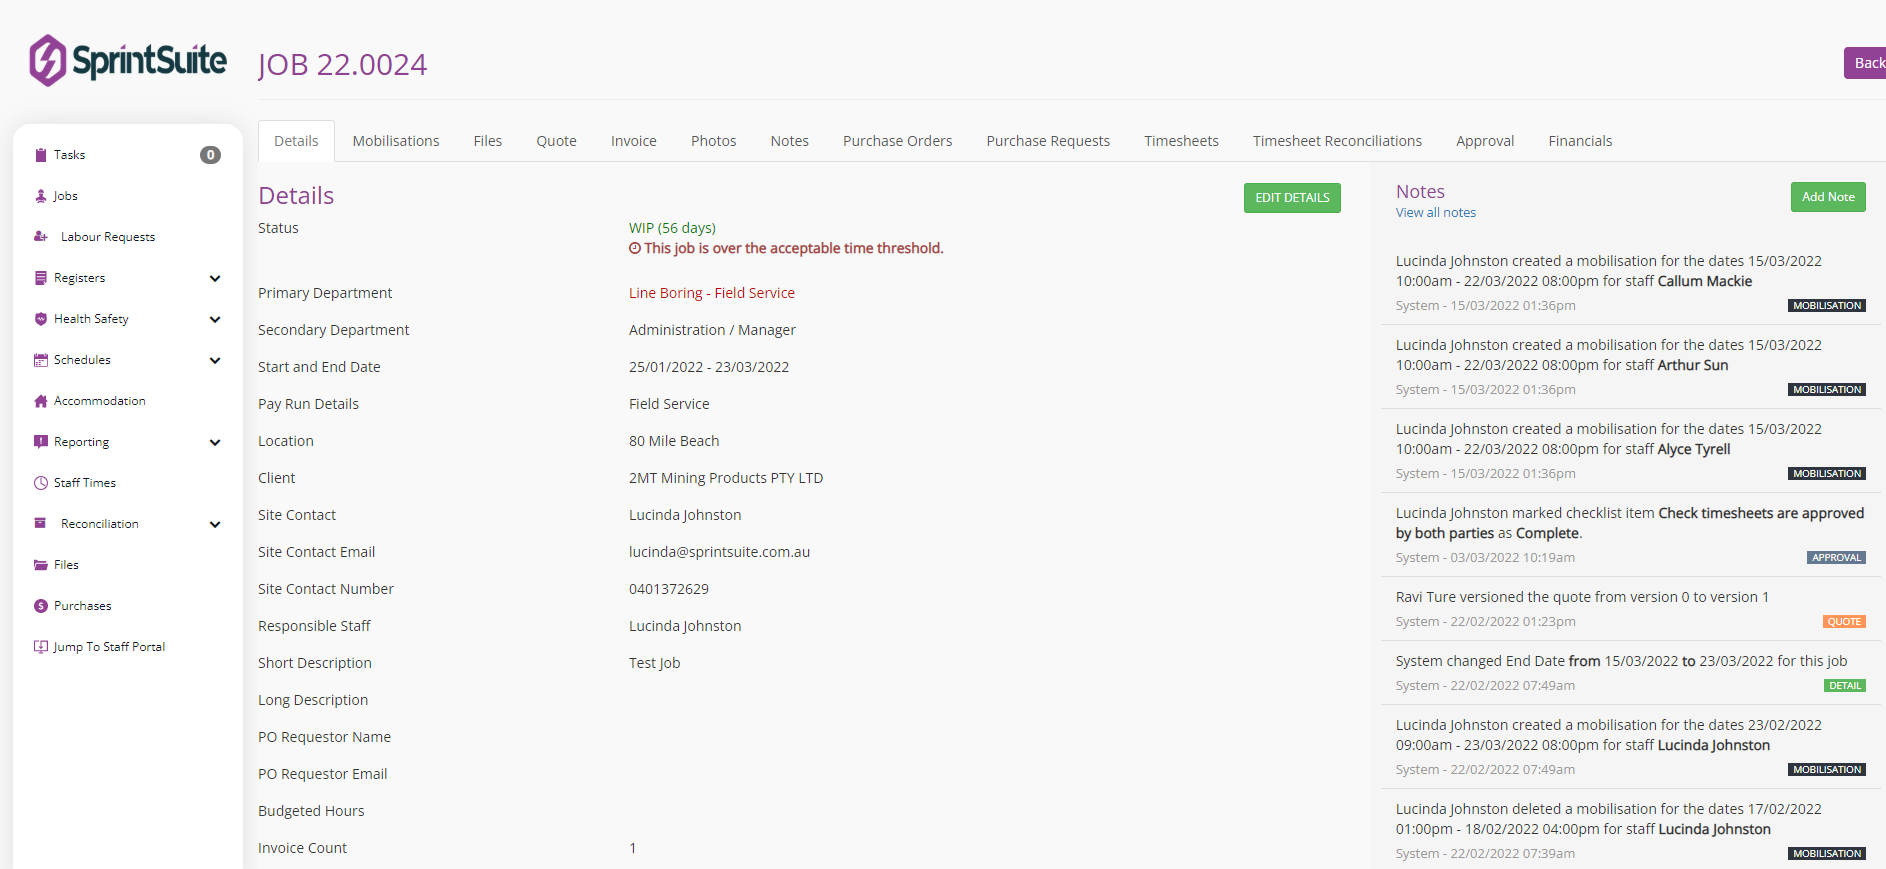
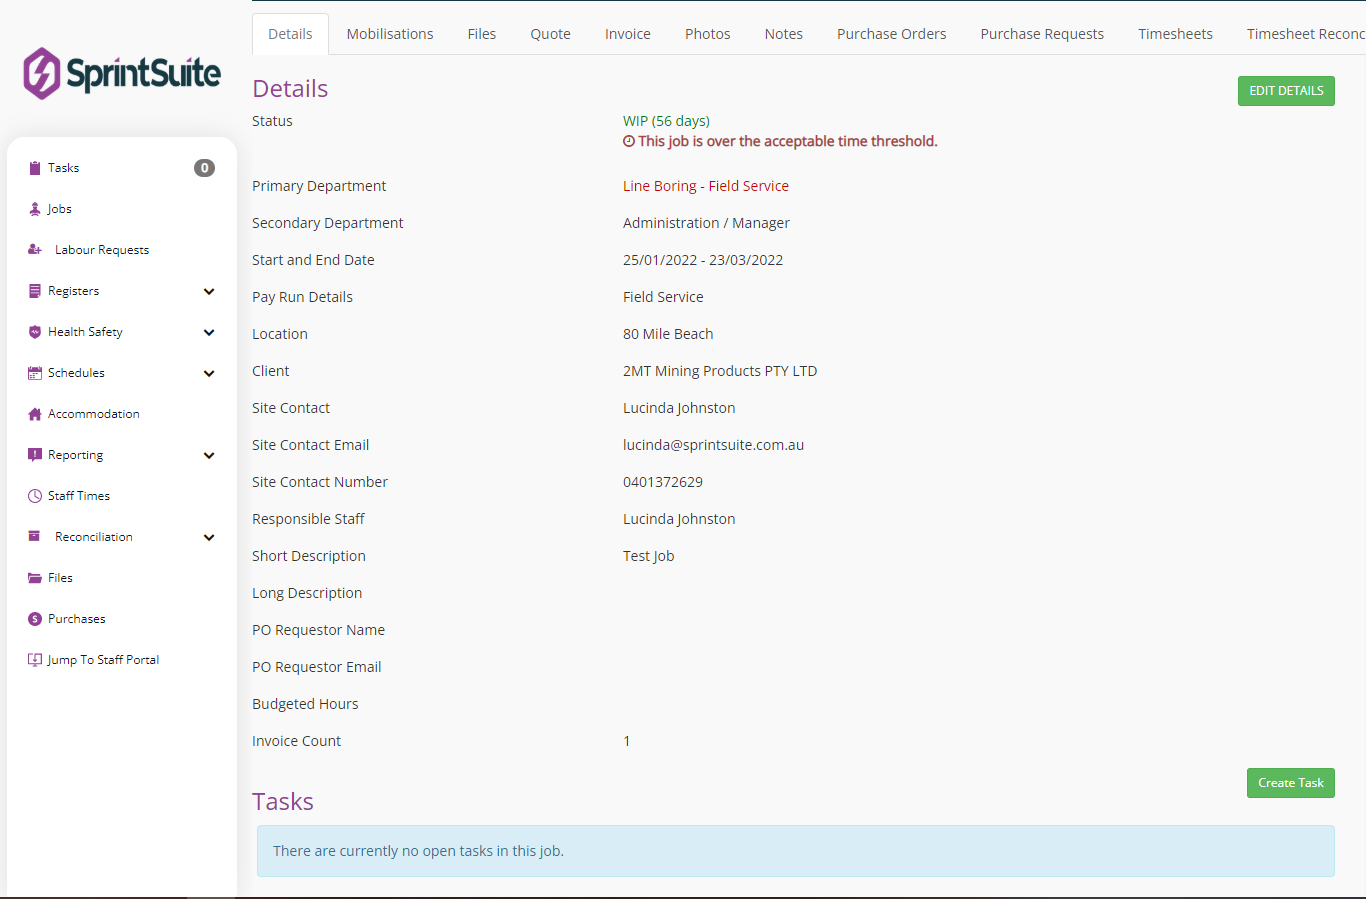
2. Click on the Job you wish to open, and a summary of data in the Details tab will show the applicable overall status of the job, as well as a notes section on the right hand side showing action by each staff member and date and time stamp, there is also an option at the bottom of the screen to add a Task linked to the job for other departments to be able to action in relation to the job.
 3. The next tab Mobilizations will allow you to allocate staff to the job for action. Click on Add staff.
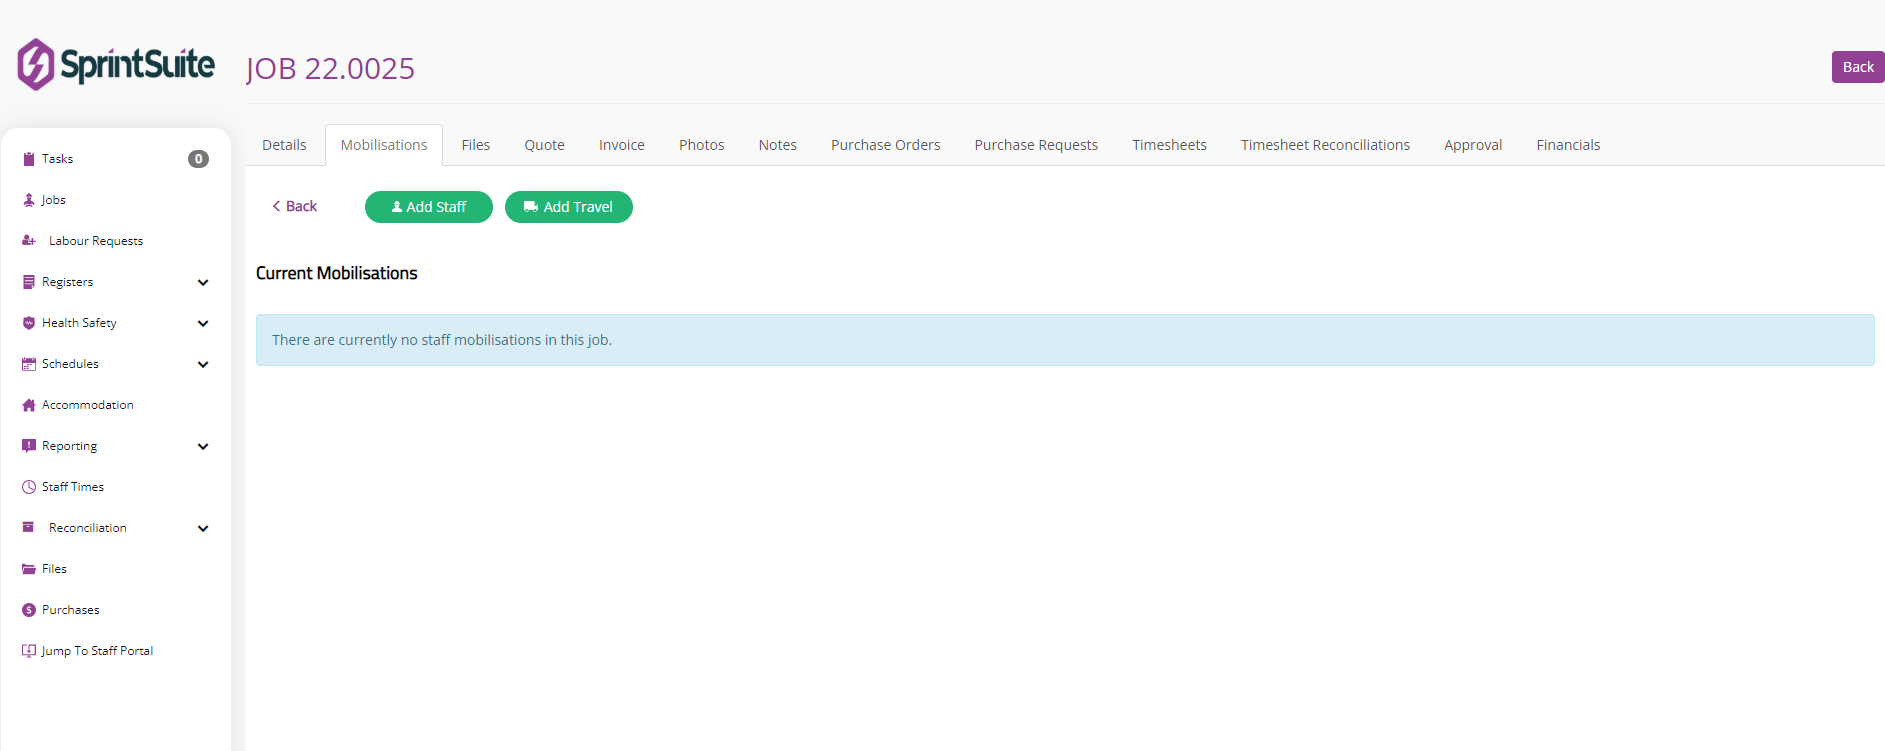
4. Choose the date time frame applicable to the job, and nominate start time, finish time, shift type, and whether a meal allowance is necessary.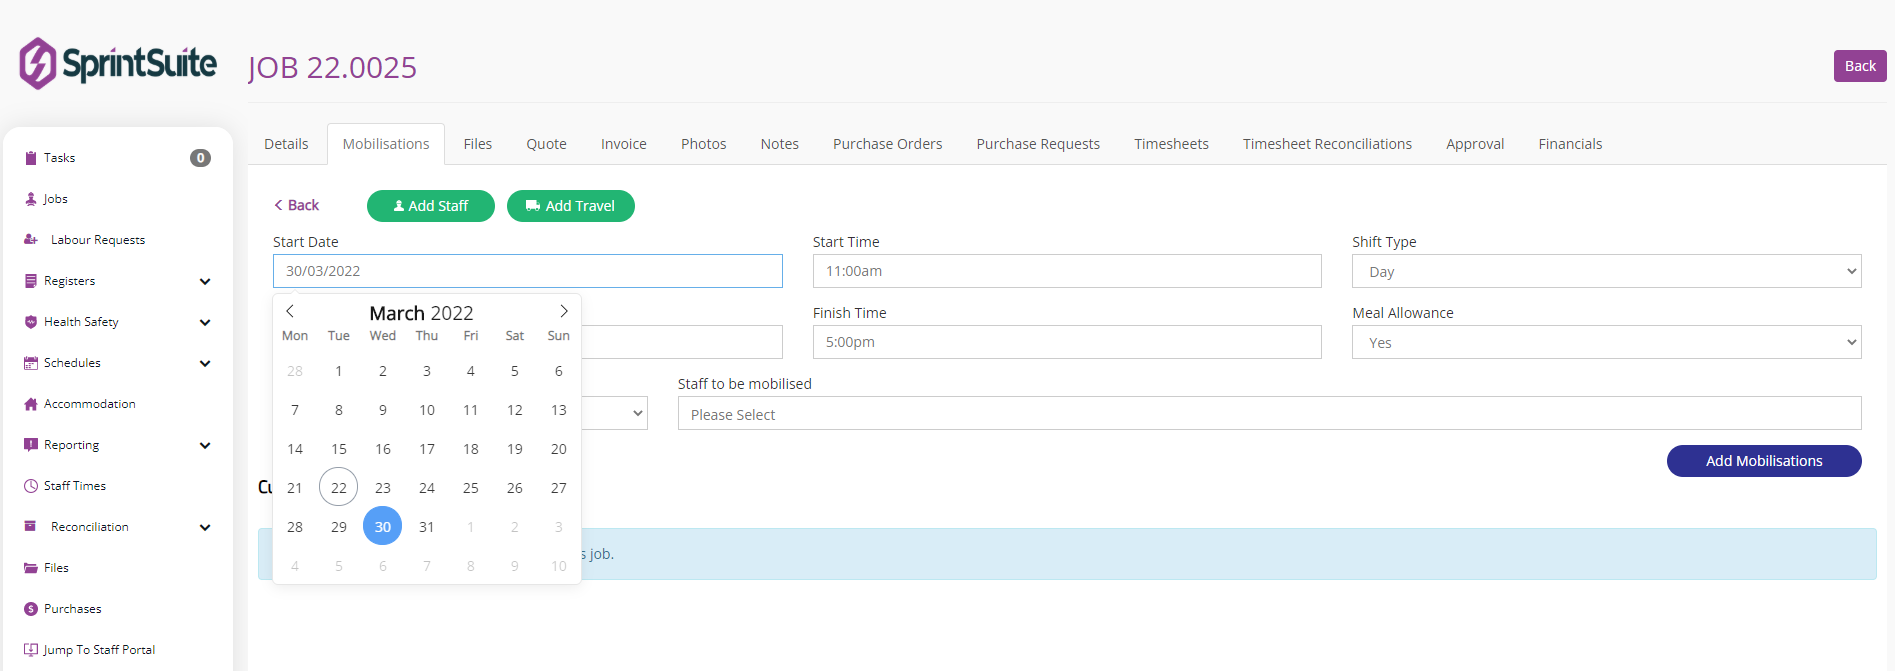
5. Next with the drop down box next to Staff responsible for booking you can nominate a staff member who will manage the notification of booking in the mobilized staff.

6. Next choose the mobilized staff member to be issued on site, by clicking the drop down box to the right of the Staff to be mobilized tab. You can click multiple mobilized staff names (please note these staff will be issued the same time frame, shift types and booking dates a the first staff chosen)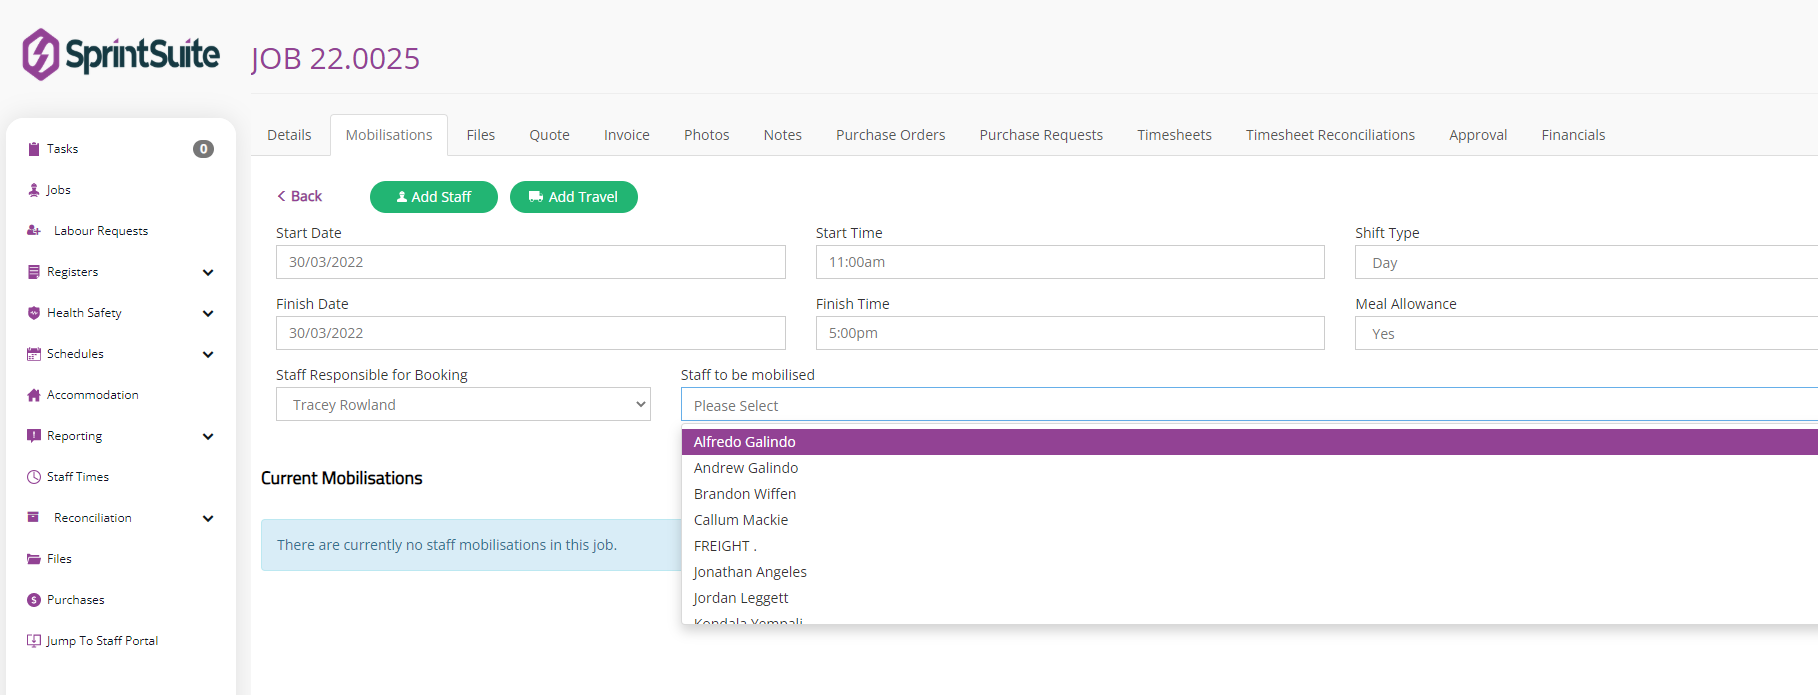
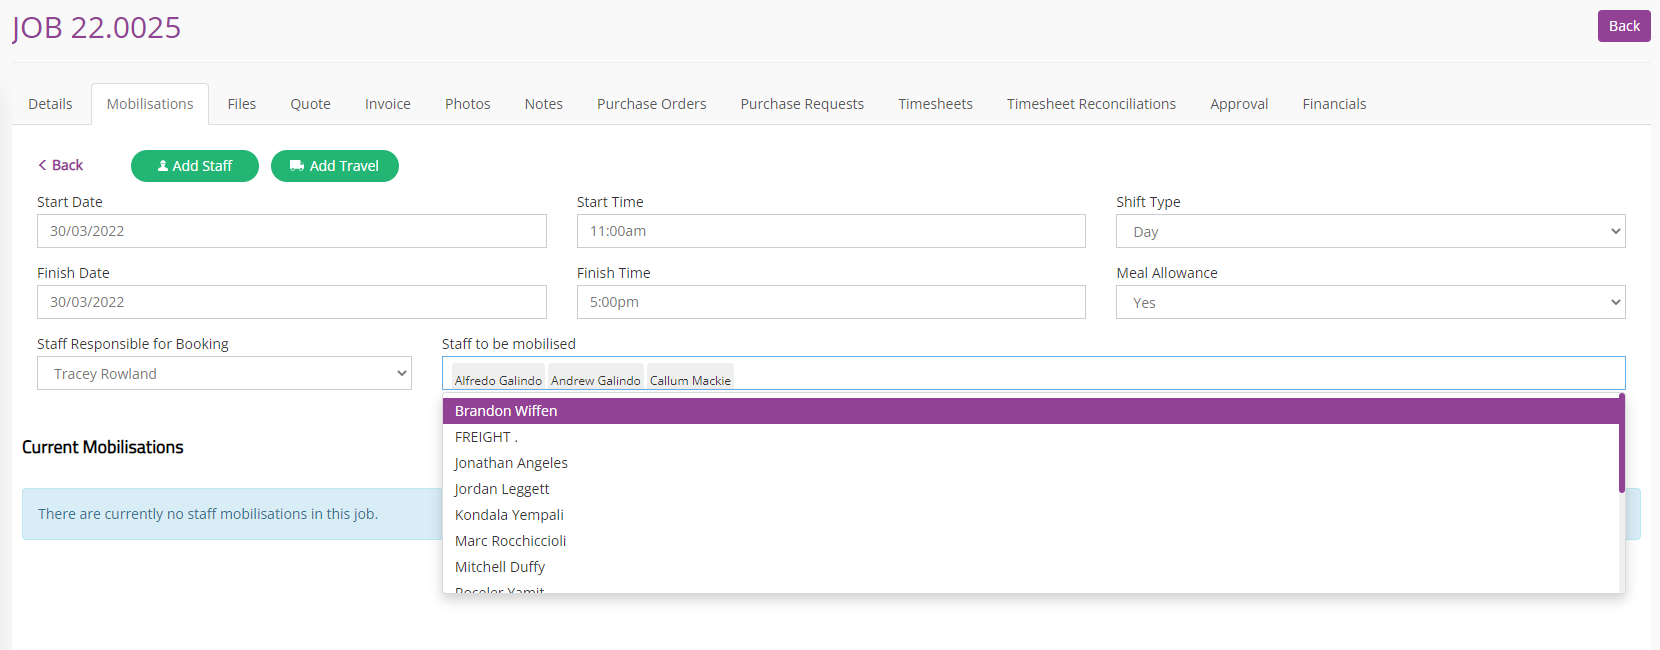
7. Now you have chosen your mobilized staff for your site click Add mobilizations, and your booked site staff will appear below.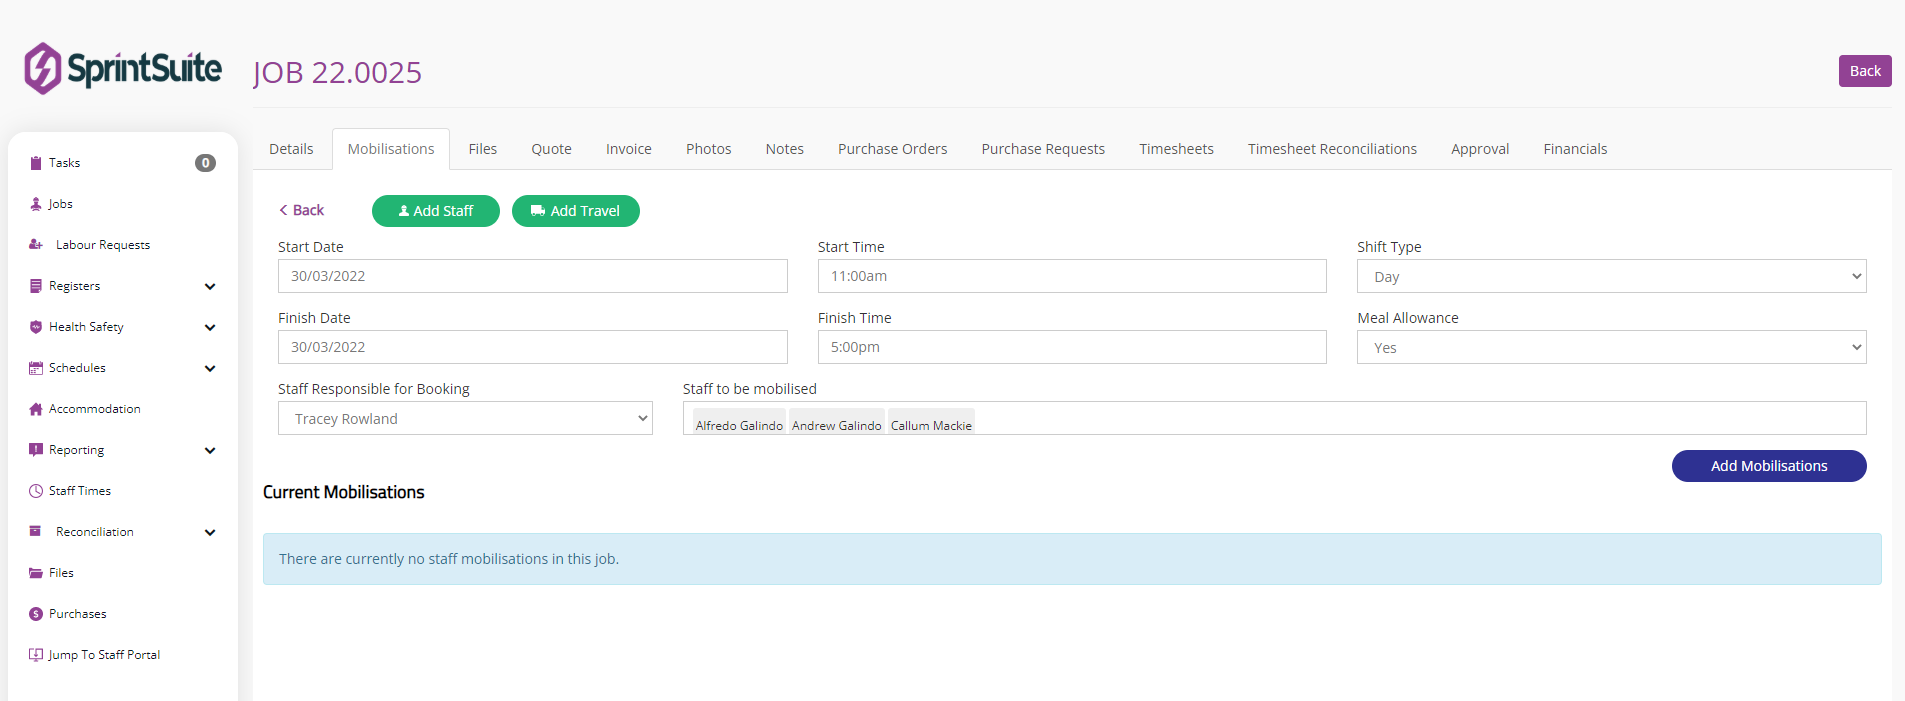
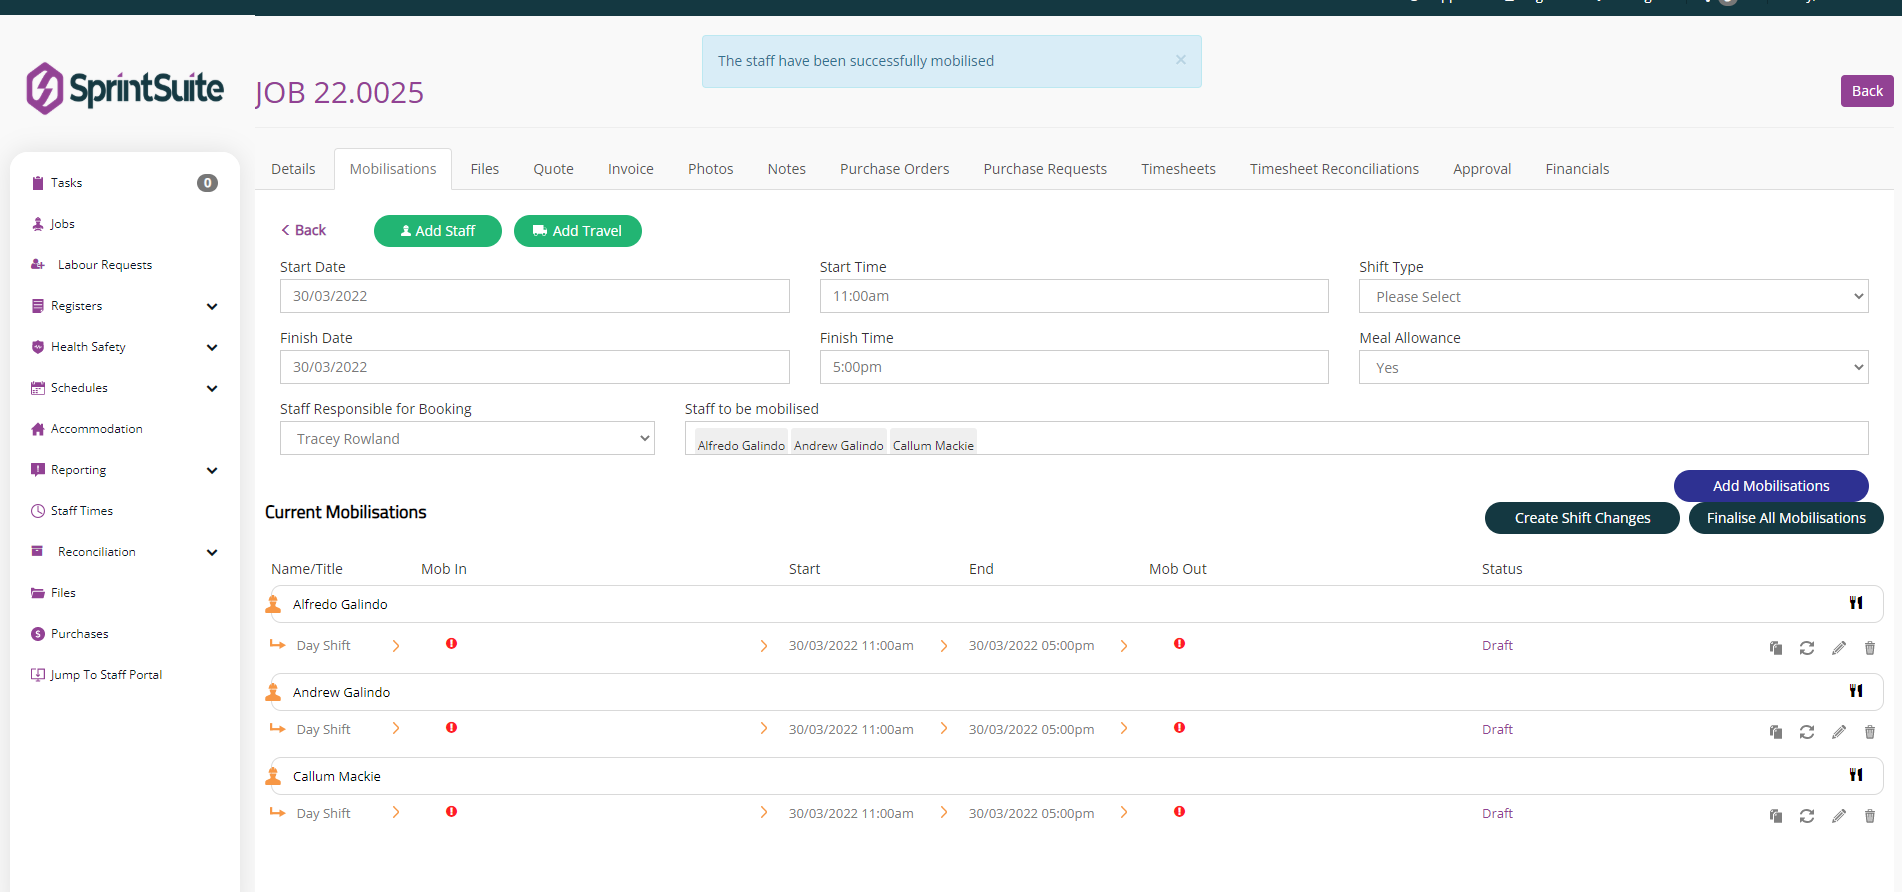
8. You can now add travel for all 3 site staff by pressing the green Add travel button in the top left. You can nominate Drive in, Flight, Commercial flight.
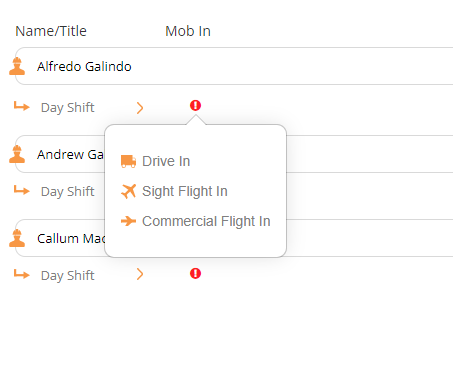
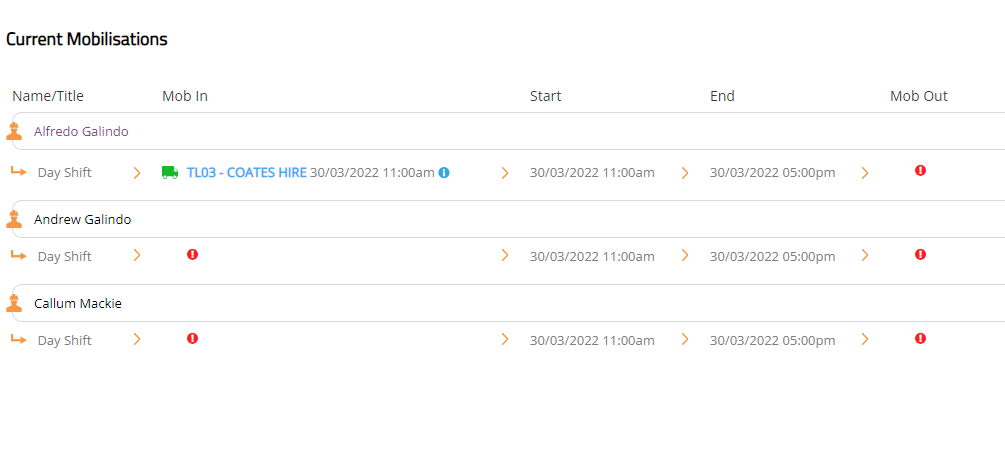
9. By clicking the red button next to each staff member the booking console appears.
MOB IN column means mobilization in travel, and the MOB OUT column means mobilization out travel.
10. Enter the details of the Mob In travel and click Next. This travel booking will then appear next to the nominated site staff member name.
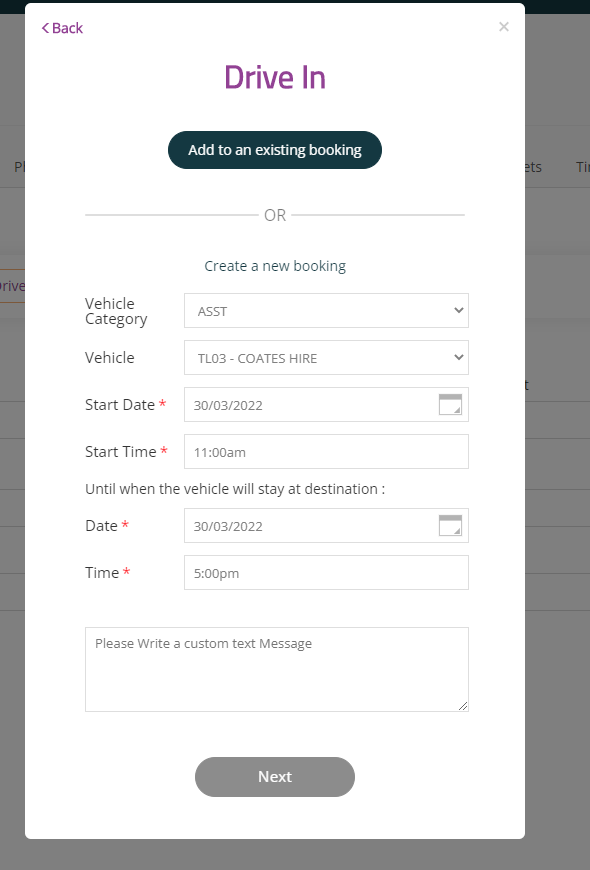
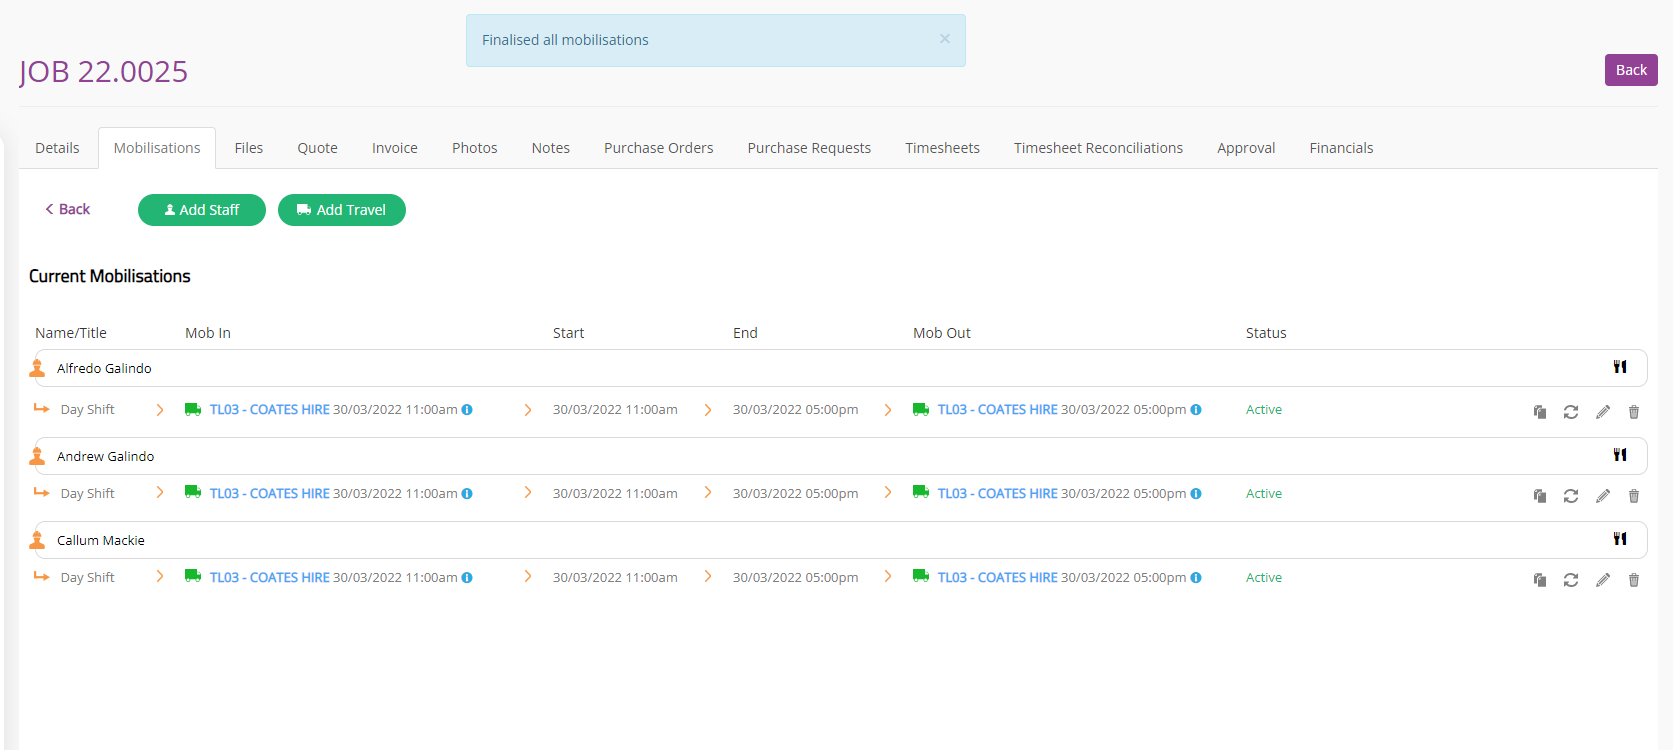
11. Once all travel bookings are entered for each site staff, press the Finalize all mobilizations.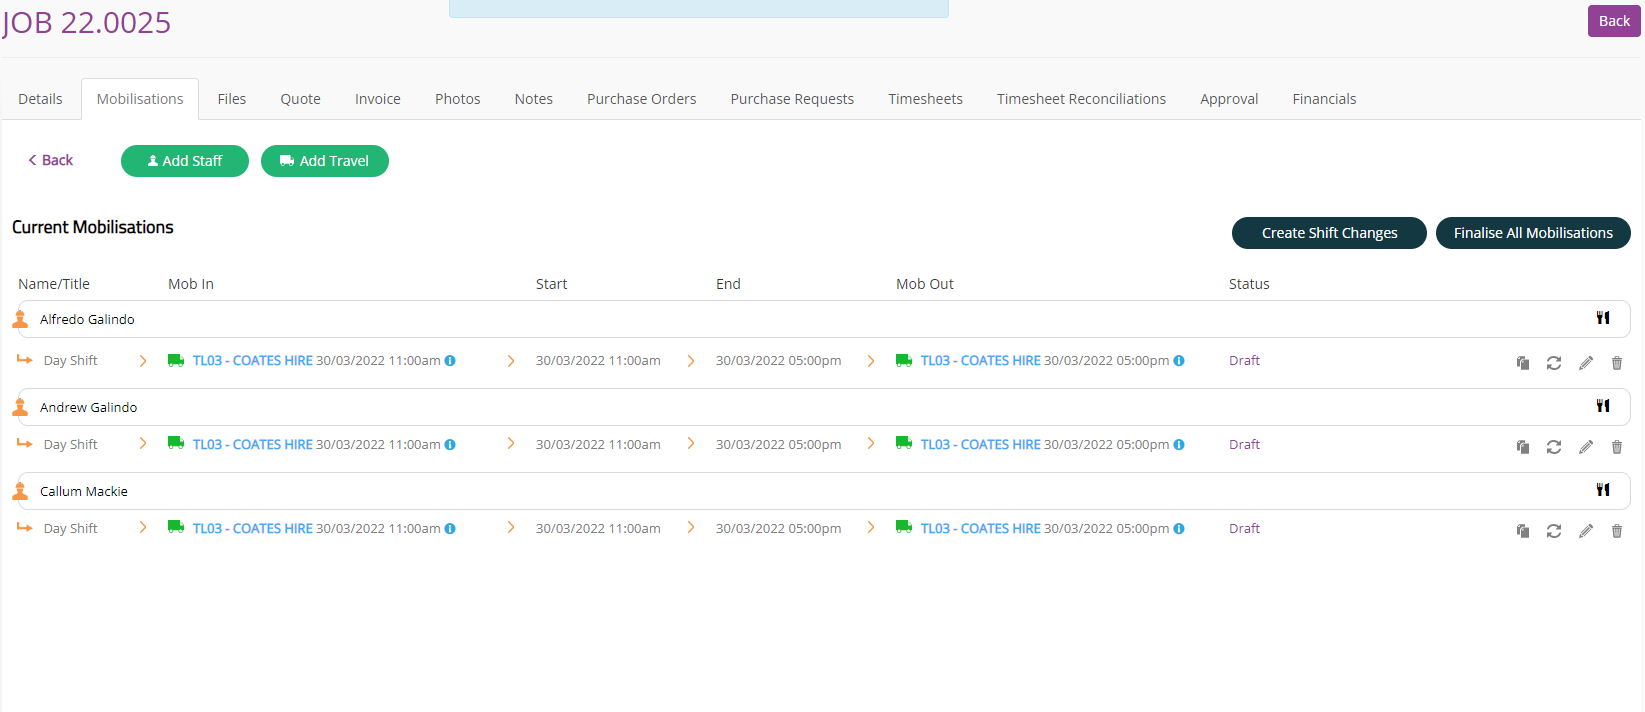
12. Once the mobilizations have been finalized they can be individually edited if needed by pressing the Pencil button, next to each site staff.
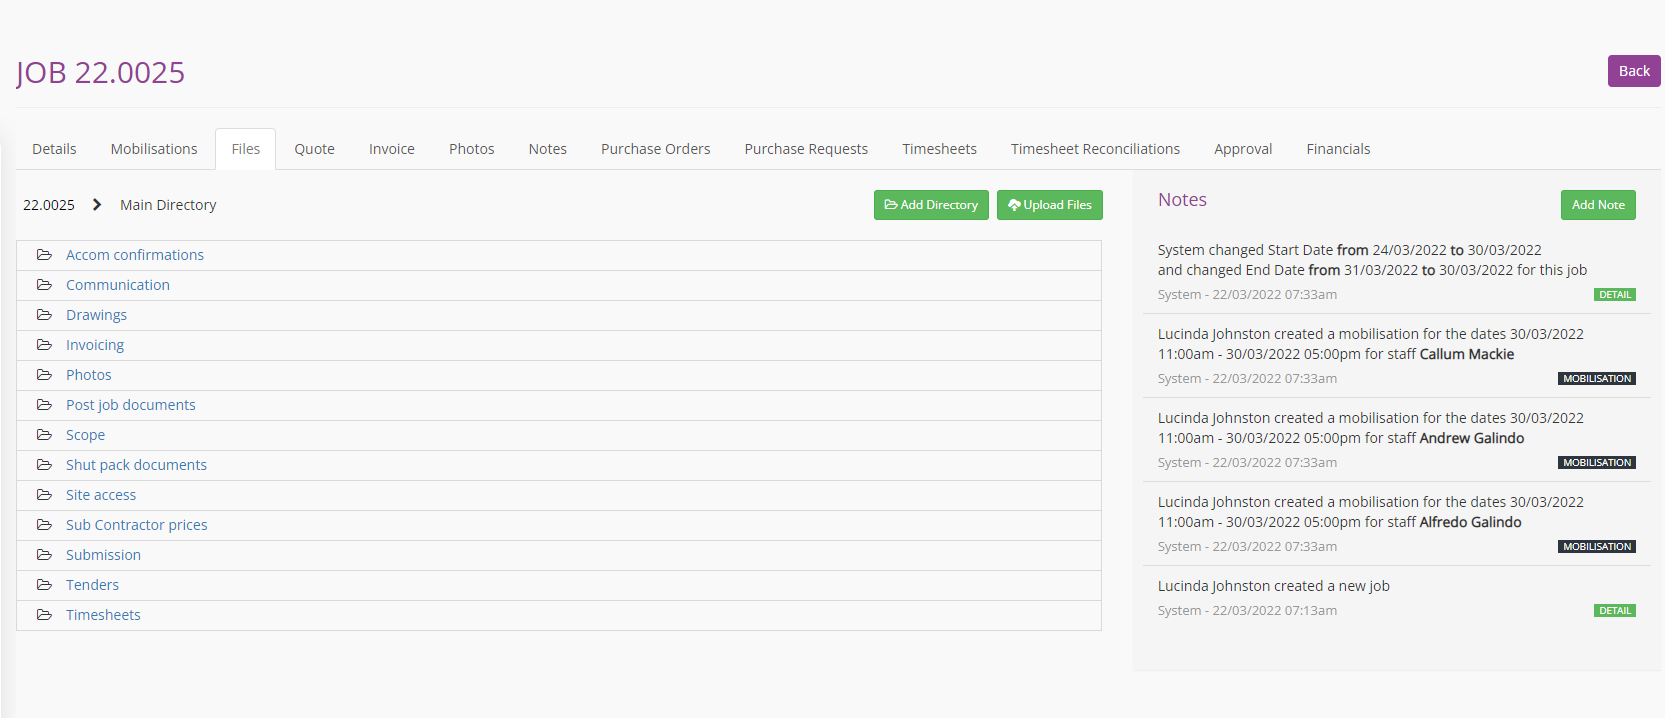
13. The Files tab is the next section available for editing. This section can be used for multiple file storing like drawings, SWMS, photos, site details / drawings, invoices, timesheets ect.