How does Push Invoice to Xero work? (Only for active Xero-Sprintsuite integrated customers)
1. Once an invoice has been Saved and Approved the Push to Xero button will appear. Click on Push to Xero.

2. If your Xero cannot find your client in their customers base, the following message will come up asking for permission to add this client as a new contact in Xero.
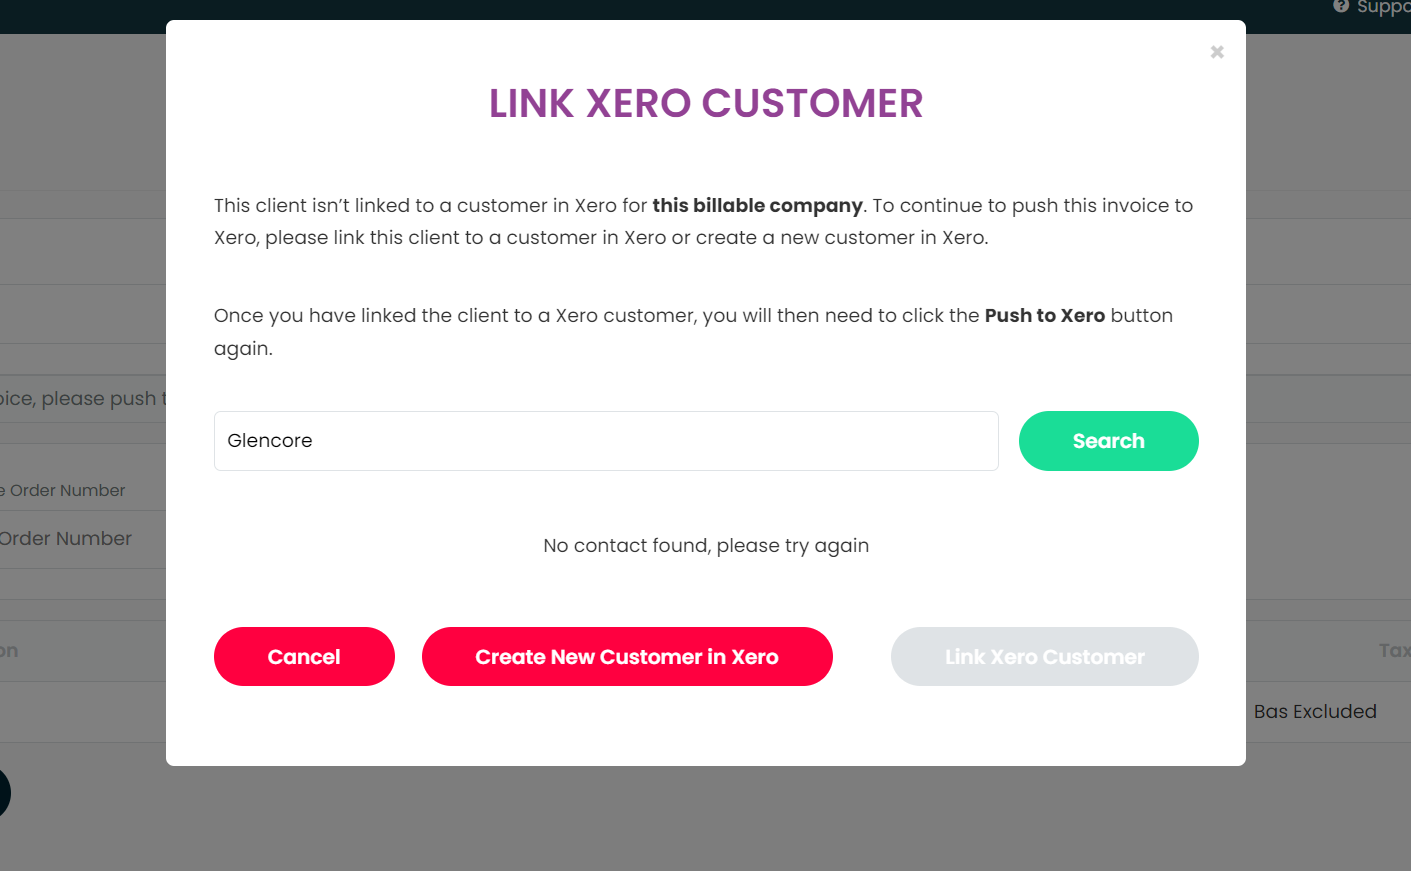
Click Create New Customer in Xero. This will add the customer details in to Xero, apply the next Xero Invoice number to this invoice, as well as push the invoice into Draft in Xero ready for processing.
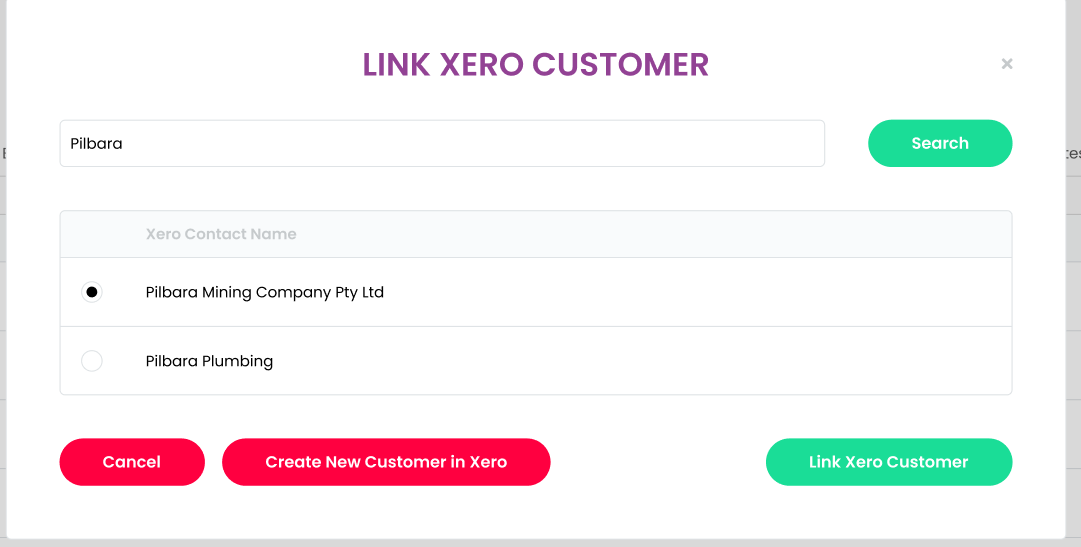
3. If your Xero does link your Sprintsuite client to a customer in Xero the below will come up with Push to Xero is clicked.
The form will ask you to confirm which customer in Xero you want to link this Sprintsuite client and invoice to, click on the customer check box that you wish to link an press Link Xero Customer. This will push the invoice into Xero and link to your Xero Customer.
You also still have the option of creating a new customer in Xero if you like by pressing Create New Customer in Xero. This will push the invoice into Xero, create a new customer and link your invoice to this new customer.
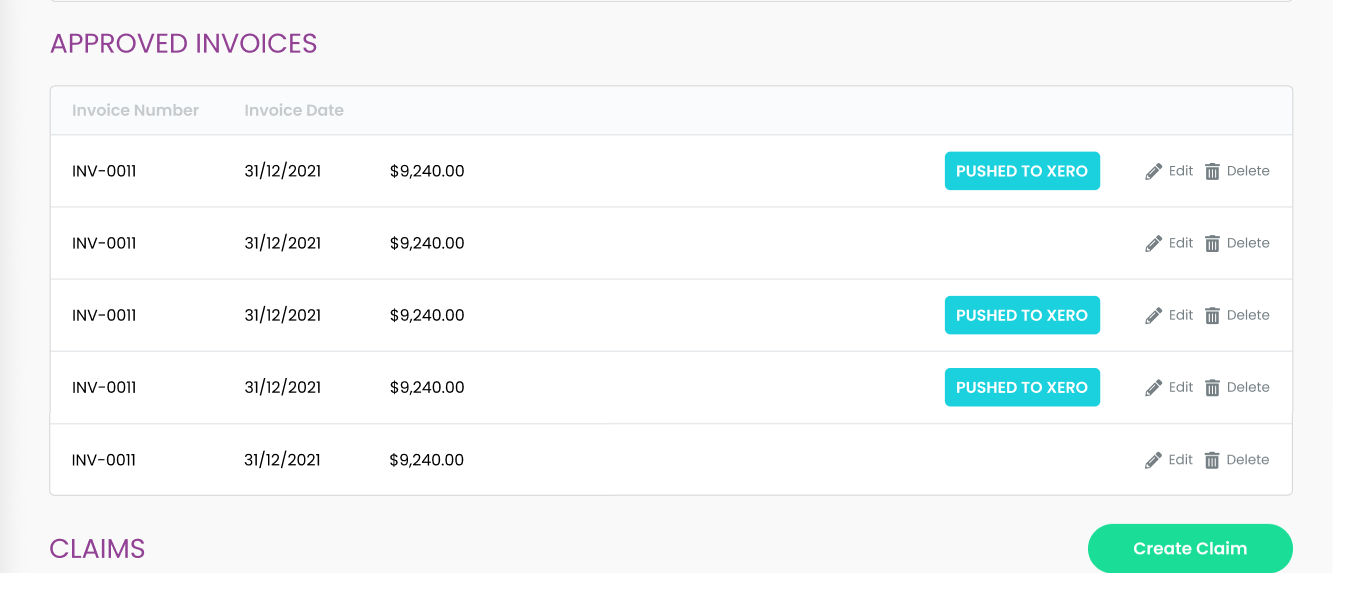
4. When an Invoice has been pushed to Xero, you can see the status of these on the Invoice summary, Approved Invoices table, showing a Blue button next to each invoice labelled pushed to Xero.