Lets take a look at the basics of the Sprintsuite staff portal
The first thing we see when logging into the Staff Portal is a Welcome Message, along with a Menu button.
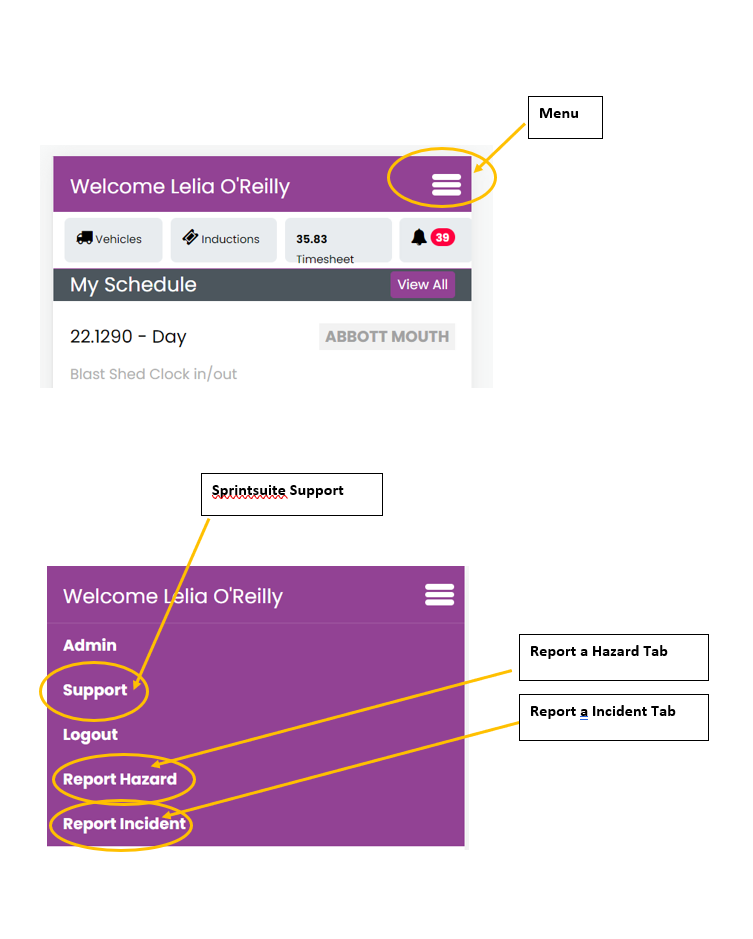
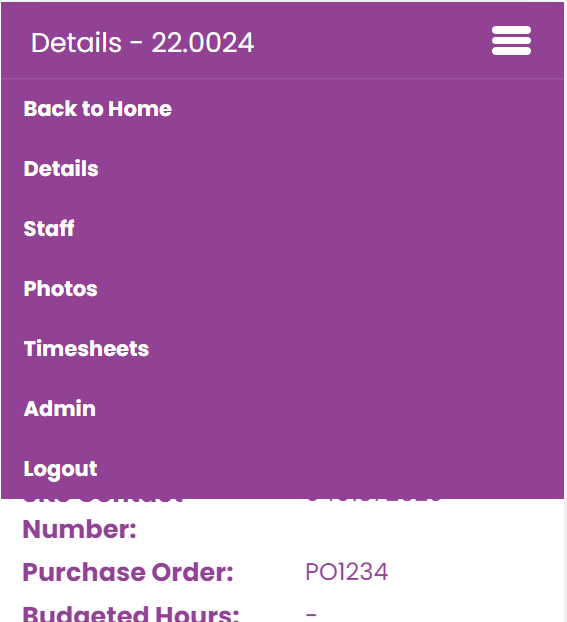
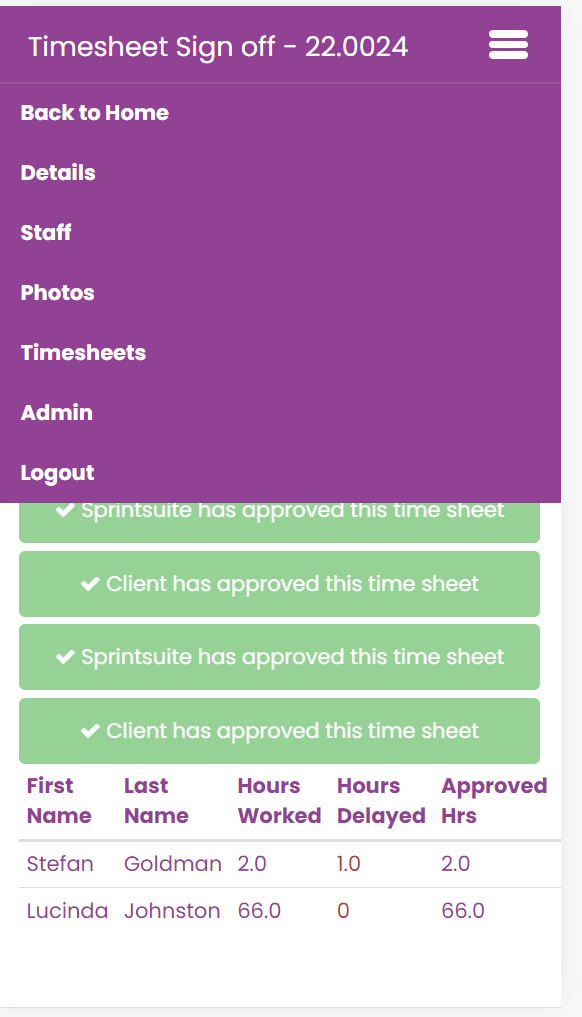
When a user clicks the menu button the drop down will appear with other features as per below.
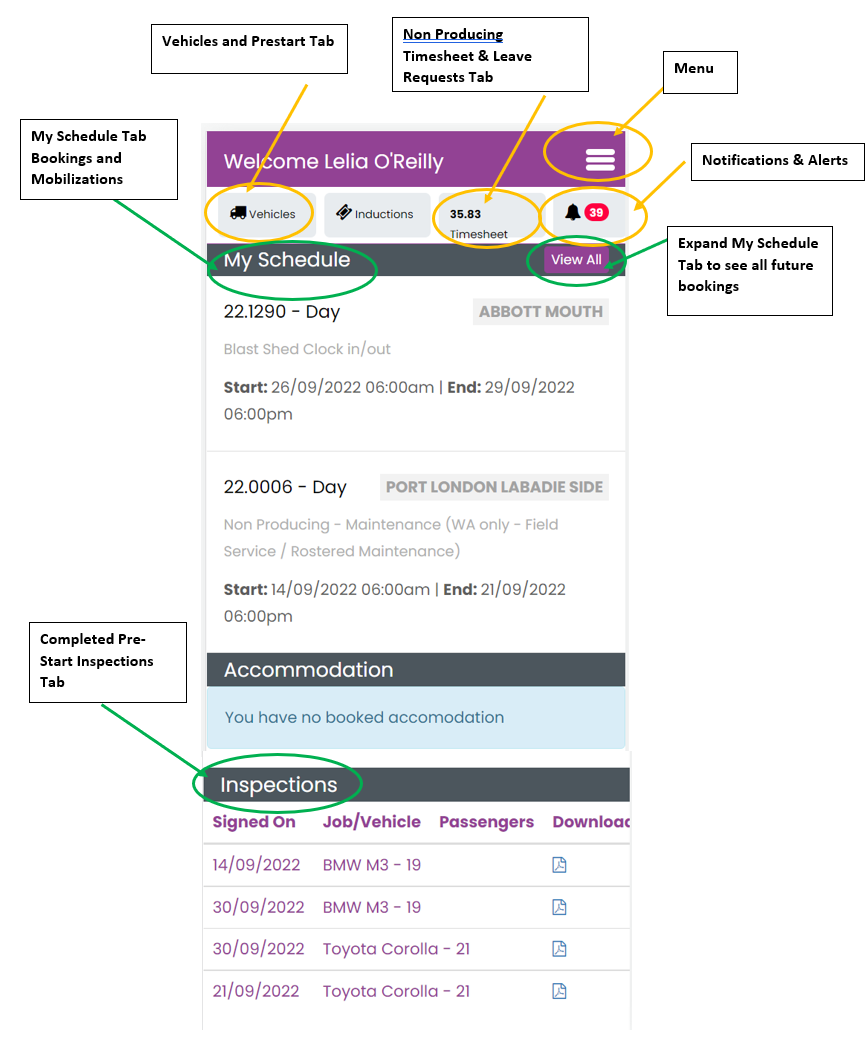
When in the Staff Portal home screen you have the following Tabs to assist you in navigating your portal.
How do i enter a timesheet for a JOB ?
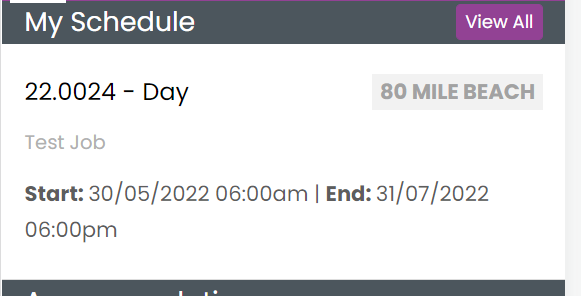
Firstly you can only enter a (producing) timesheet on a job you have been booked in for by management, press the view all button to show all jobs you have been booked for.
Click on the relevant job you are entering a timesheet for.
This will take you to the Job details page, showing you an overview of client location and dates relevant.
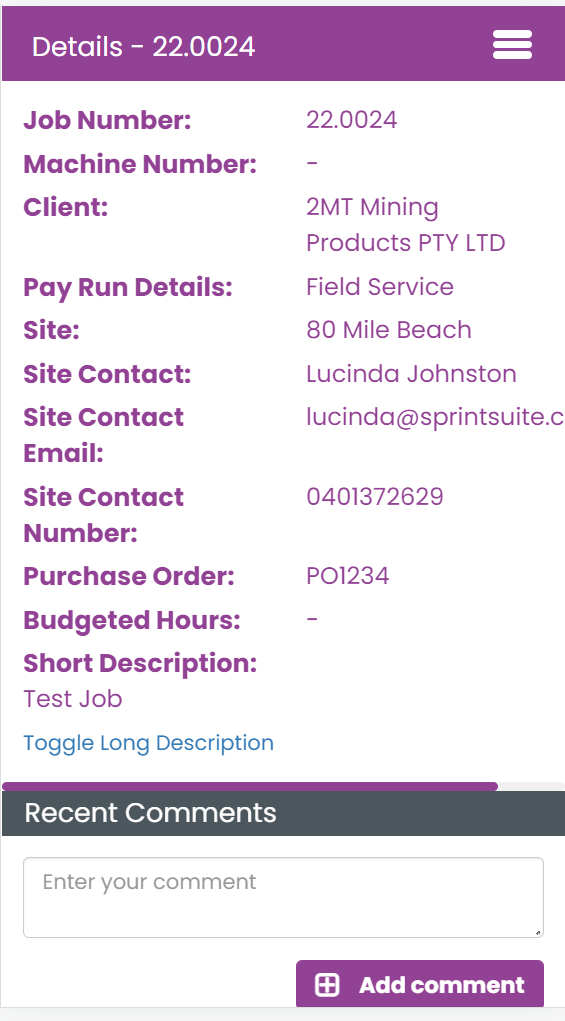
You can add a comment to the comments section (this is a comment only you can see), this is useful for you to record camp accomodation details or flight details.
When inside of a job to enter a timesheet press the three lines at the top of the screen, and choose timesheets from the list.
You will see previous timesheet entries you have made towards the bottom, click the Add Time button.

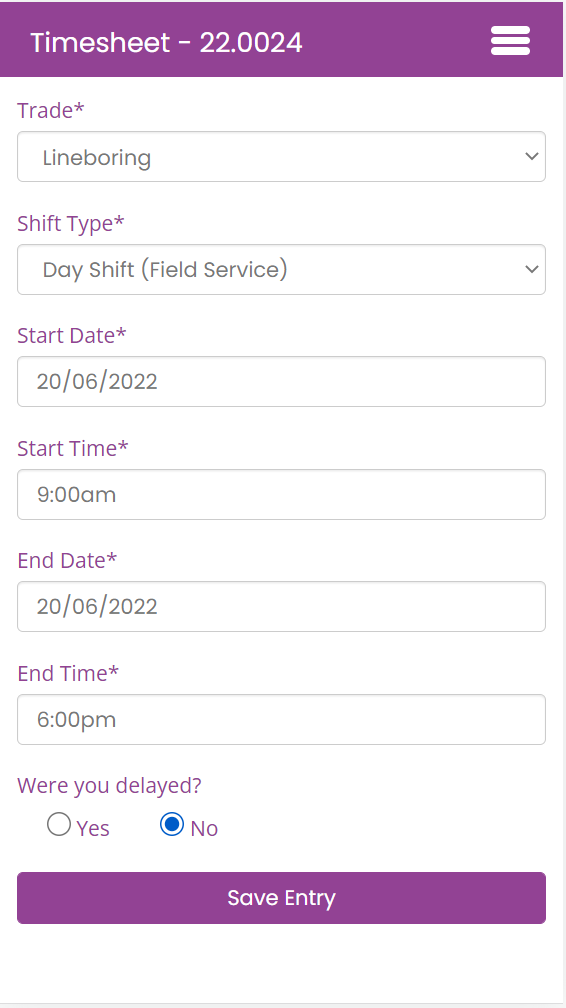
Type in the details of your timesheet and press Save Entry. Your timesheet has now been uploaded to the job, however you may need to get this approved by the client before your timesheet is approved by your project manager. If this is the case see part 2 below.
If your employer requires the supervisor or client to sign off on your timesheet, once the job is complete and no other timesheets need to be submitted take your mobile over to your supervisor.
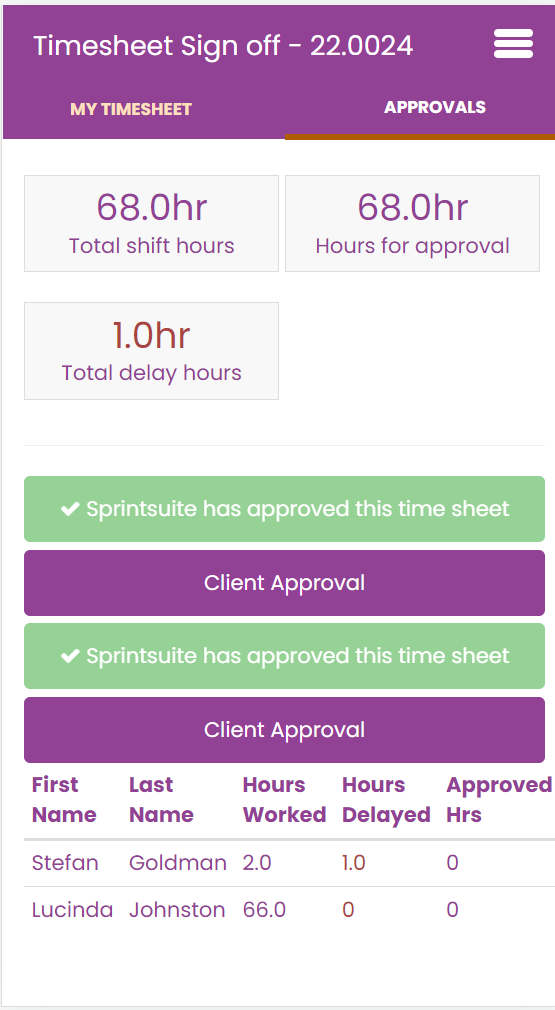
Go into the job, and click on timesheets, next click on approvals tab.
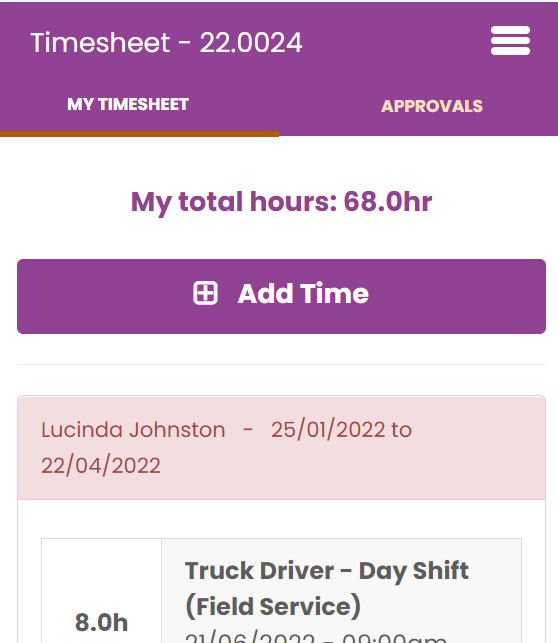
A list of timesheets for approval will be displayed, please note your colleagues timesheets for the same job will also be presented for client approval.
Press the Client Approval button.
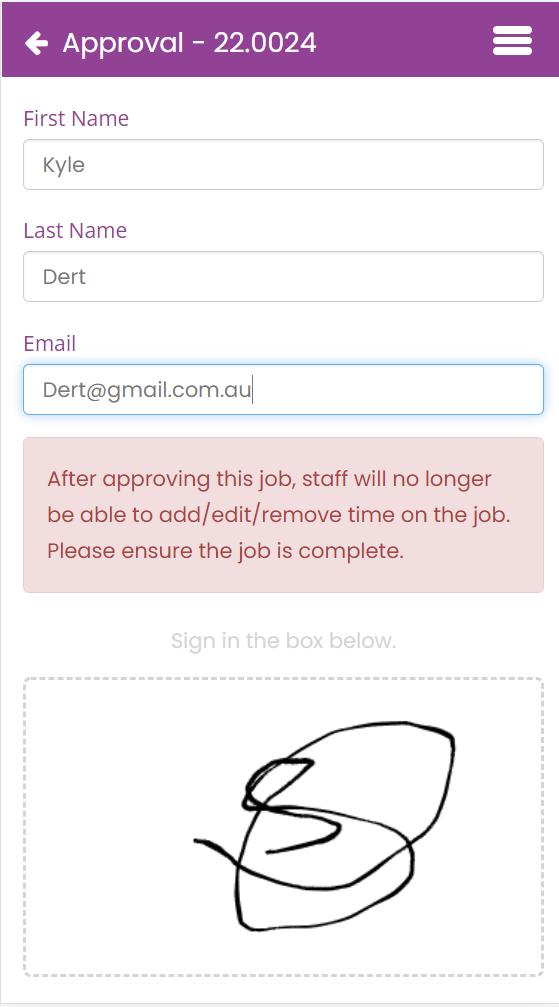
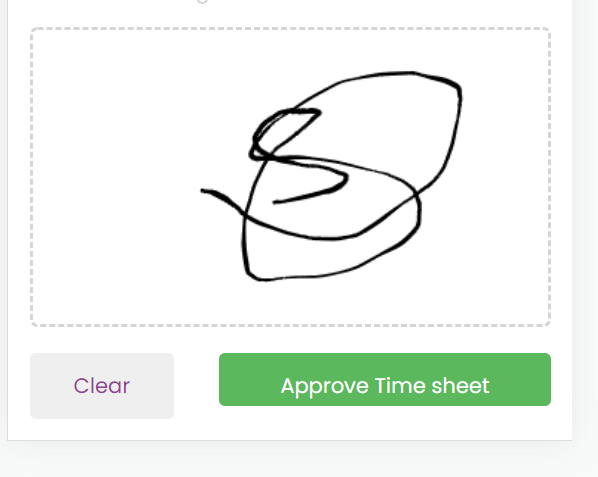
The supervisor will then type their name and contact email and sign the box at the bottom of the page, they will scroll down and press approve timesheet.
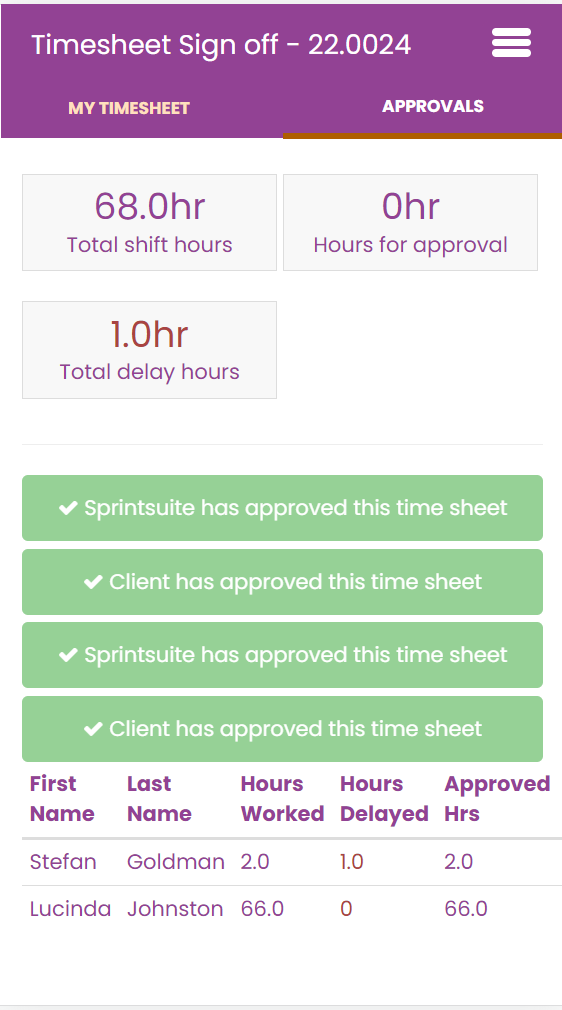
You will now be taken back to the timesheet screen to see your timesheets have been approved by the client.
Can i add photos to my job?
You can add photos for your job by pressing the three lines at the top of the screen when you are inside a relevant job. Click Photos.
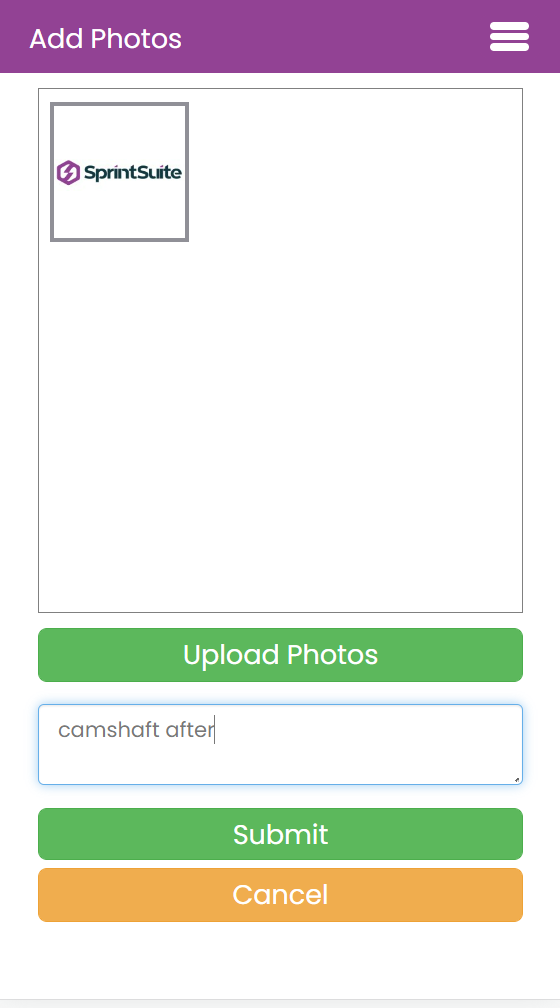
Click Add Photos,
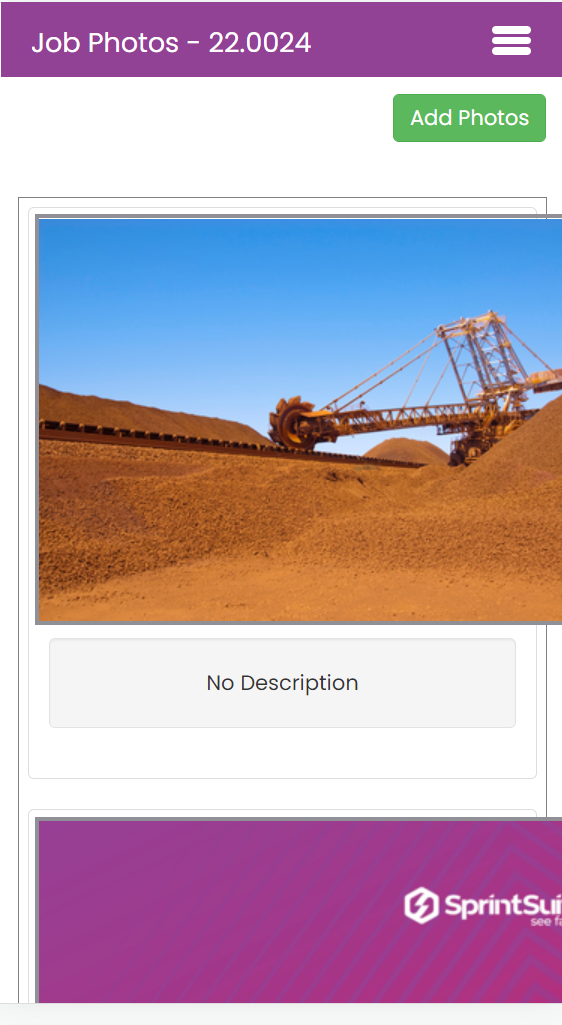
Press upload photos where you can drag and drop, or upload from your device a photo and type a description, press submit. Your photo has now been uploaded to the job.