Click on Settings.

Click on your Company Name under Billable Companies.

Click on Invoice Settings.

Here, you can upload your logo by clicking on CLICK HERE TO SELECT AN IMAGE TO UPLOAD or you can drag and drop your logo file within the designated section. The logo file must be in the following formatting: 1. Must be larger than 200px by 200px, 2. Must be smaller than 1mb in file size, 3. Must only be a .png or .jpeg file type.
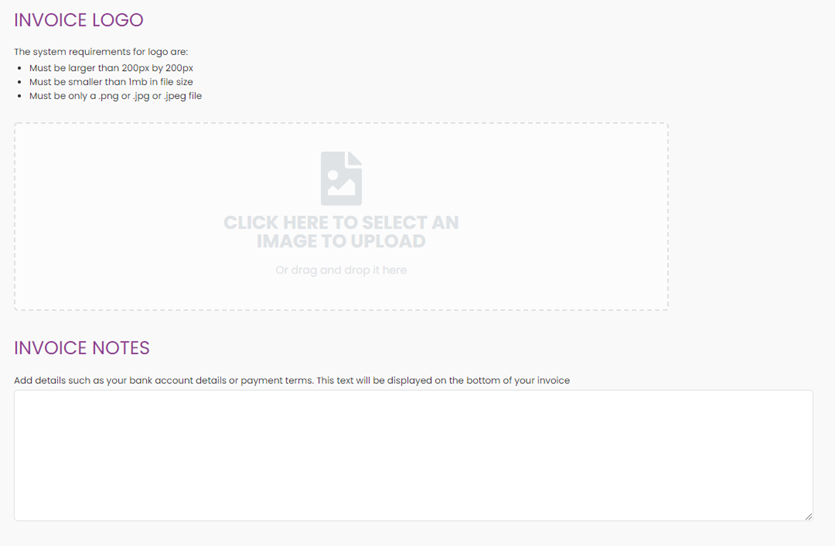
Once you have uploaded your logo it will appear under Current Logo to the side of the designated file drop box.
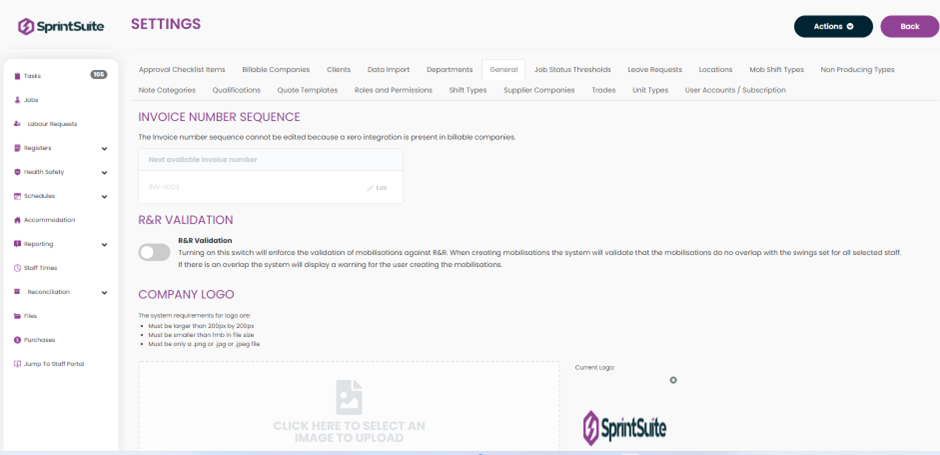
You can now proceed to update your terms and conditions on your invoice by entering text in the field provided under Invoice Notes.
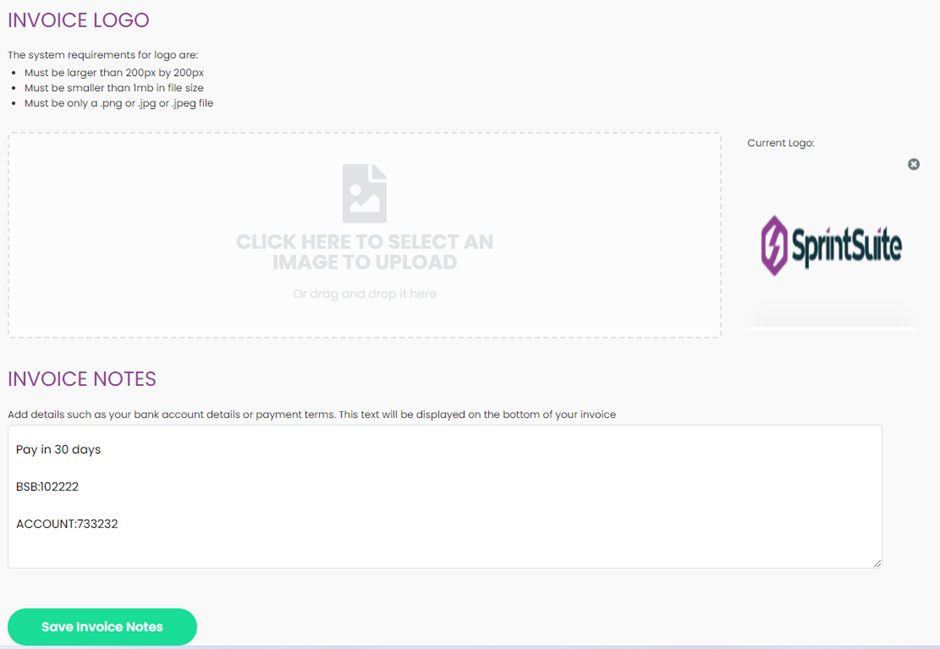
After you have entered your payment terms, click Save Invoice Notes, a pop-up will appear to indicate a success update “Saved invoice setting successfully”, this text field will now display under the Payment Advice section at the bottom of your invoice template.

To preview your invoice template, navigate to any job within your portal, preferably a completed job read for invoicing, and click on the Invoice tab.

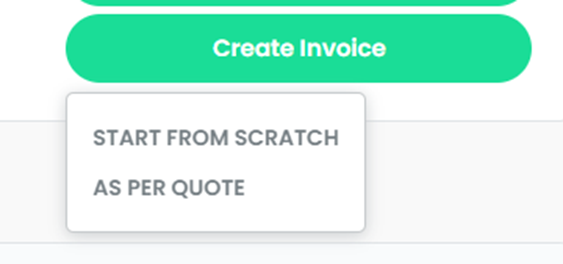
Click on Create Invoice where you can START FROM SCRATCH or AS PER QUOTE.
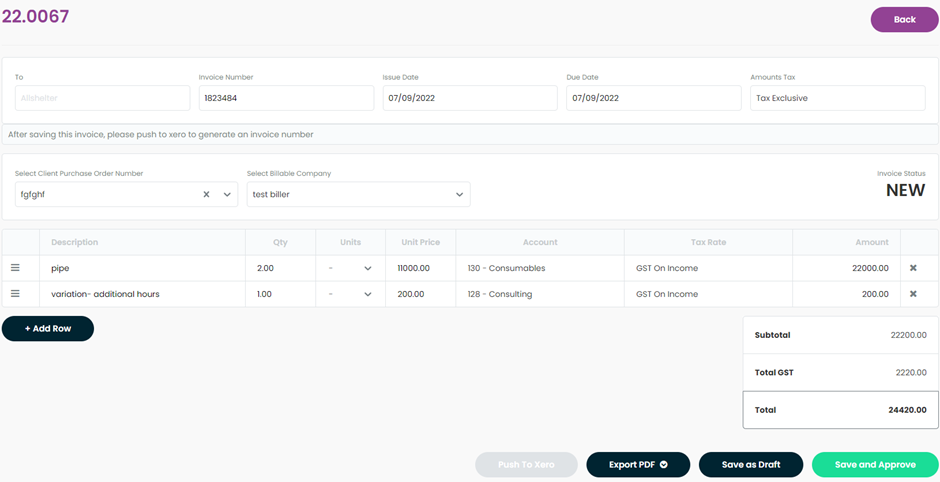
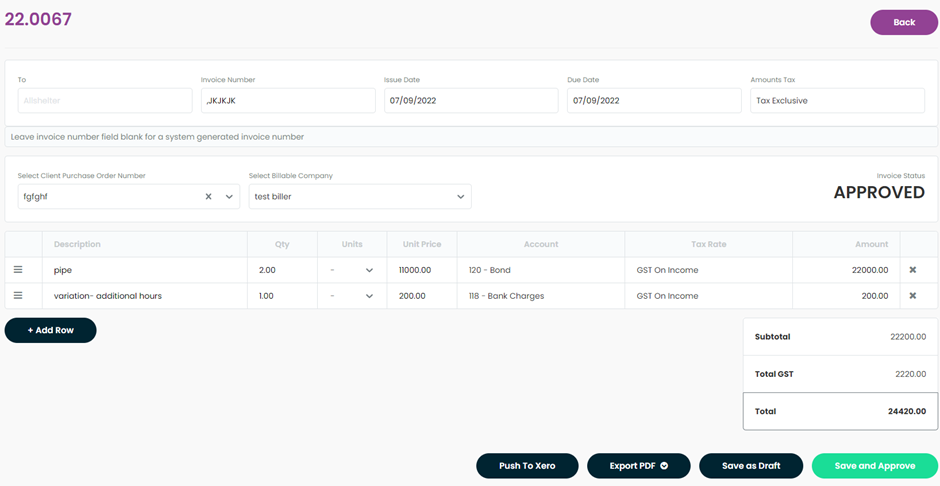
Fill out the below details of the invoice page and Save and Approve.
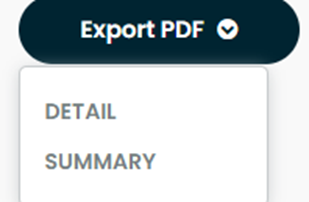
Once saved and approved you can now click on Export PDF to download.
Select either Detail or Summary view of the PDF.
Below is a Detailed view of the invoice ready to be sent to your client. Where you can now view your logo to the top left of your invoice and payment terms which sit under Notes.
Below is a Summary view of the invoice which is ready to be sent to your client. Notice your newly uploaded company logo, to the top left of your invoice, and new payment terms text which sit under Payment Advice Notes. Admin users are now ready to start invoicing the client.